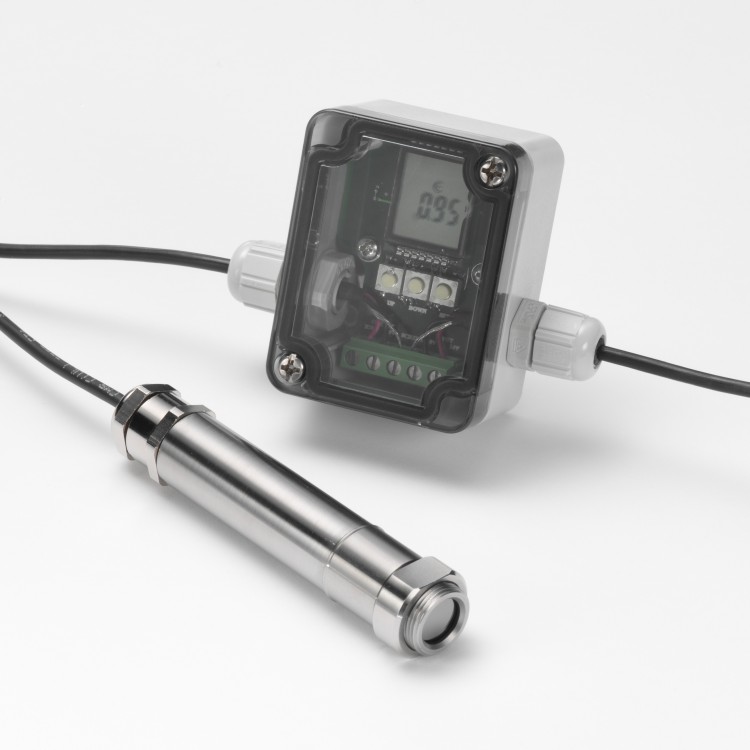
The PyroTune provides a continuous 4-20 mA signal to adjust the emissivity setting of the PyroEpsilon infrared temperature sensor.
It is compatible only with the PyroEpsilon.
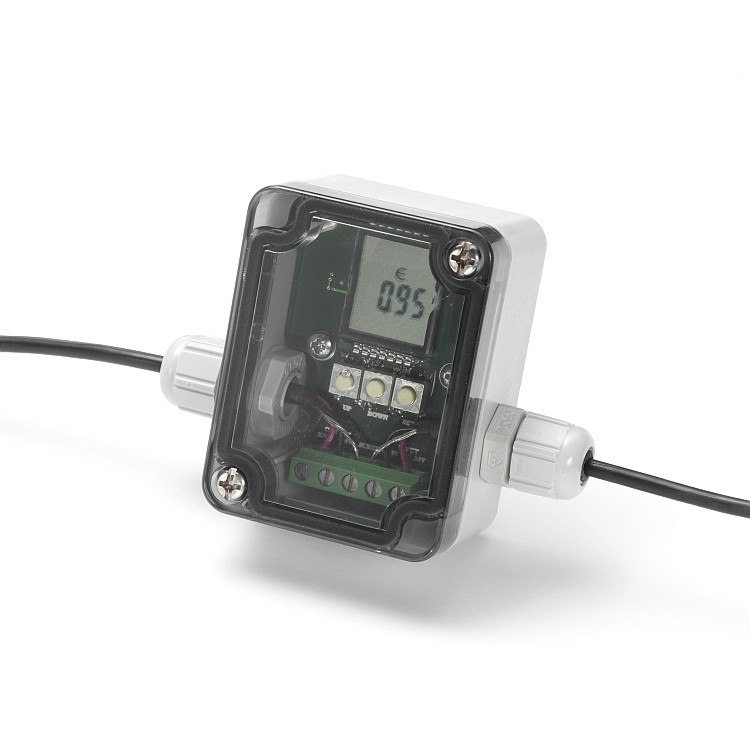
The PyroTune allows the emissivity setting to be adjusted quickly and instantly during the process. It is important that the emissivity setting of an infrared temperature sensor matches the emissivity of the target surface.
If the emissivity of the target changes, such as a steel pipe being painted, then the PyroTune’s quick emissivity adjustment can help ensure an accurate temperature reading despite the change in emissivity.
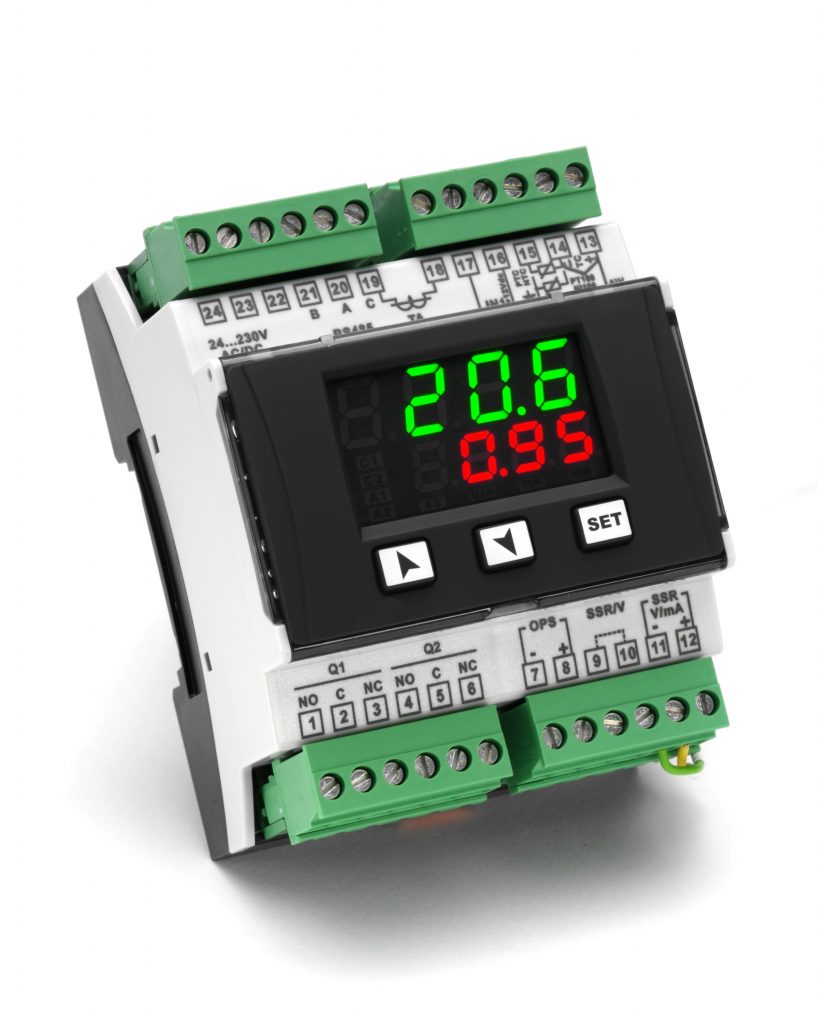
If additional features, such as a temperature display or alarm relay outputs, are required as well as emissivity adjustment, then the PPT245 indicating controller should be used instead.
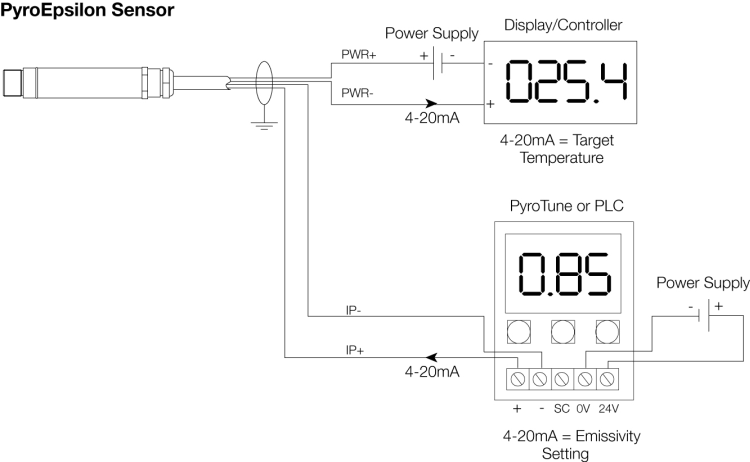
Connecting the PyroEpsilon to the PyroTune:
1. Connect only the power wires PWR+ and PWR- of the sensor to a 24 V DC powered 4-20 mA measurement loop. Connect the emissivity input wires IP+ and IP- to each other, and do not connect them to the power supply.
2. Obtain a temperature reading without emissivity adjustment.
3. Connect IP+ and IP- to the 4-20 mA output terminals of the PyroTune.
4. Connect a power supply to the input terminals of the PyroTune and switch on the power.
5. Use the push button controls to change the emissivity setting until the sensor reads correctly.
There are several ways to find the correct emissivity setting – contact Calex for more information.
Details of the PyroTune are available in the PyroEpsilon data sheet and manual.
 Data Sheet